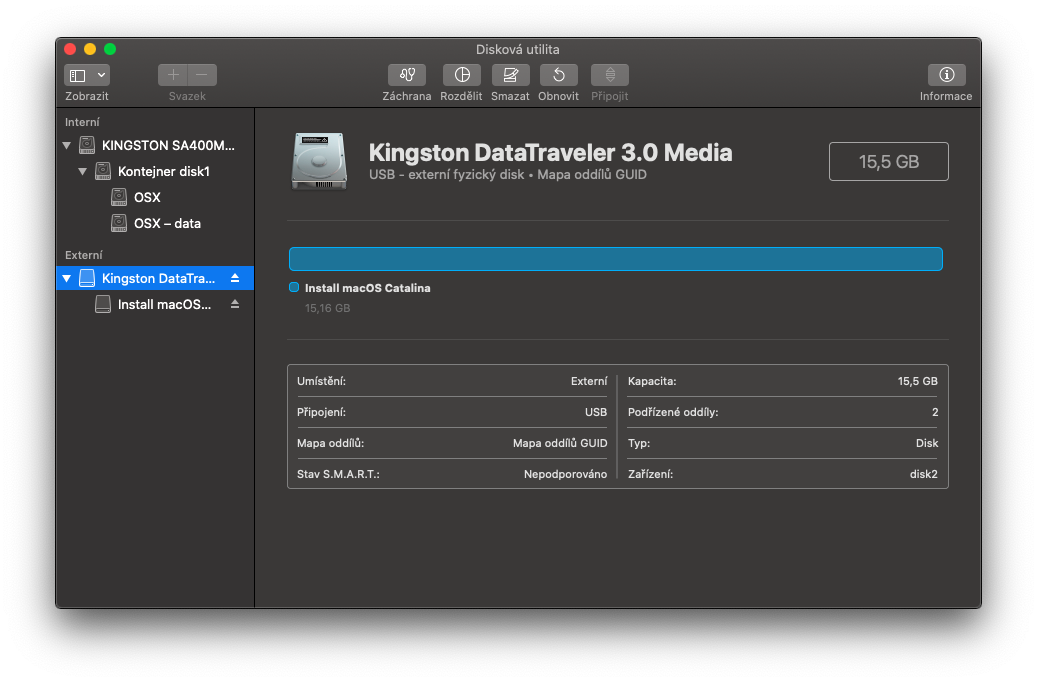
Mounting volumes on macOS can be done using Disk Utility.app. For some reason, Apple decided not to show EFI partitions (among others such as Preboot, Recovery, etc) in Disk Utility.app. In this article, I will show you how to mount these volumes using command line (Terminal).
Listing all volumes
To list all volumes (partitions), use diskutil list.
diskutil list

    /dev/disk0 (internal, physical):
        #:                       TYPE NAME                    SIZE       IDENTIFIER
        0:      GUID_partition_scheme                        *240.1 GB   disk0
        1:                        EFI EFI                     209.7 MB   disk0s1
        2:                 Apple_APFS Container disk1         239.8 GB   disk0s2

    /dev/disk1 (synthesized):
        #:                       TYPE NAME                    SIZE       IDENTIFIER
        0:      APFS Container Scheme -                      +239.8 GB   disk1
                                      Physical Store disk0s2
        1:                APFS Volume OSX                     10.9 GB    disk1s1
        2:                APFS Volume VM                      1.1 MB     disk1s2
        3:                APFS Volume OSX – data              131.9 GB   disk1s3
        4:                APFS Volume Preboot                 83.7 MB    disk1s4
        5:                APFS Volume Recovery                528.5 MB   disk1s5

    /dev/disk2 (external, physical):
        #:                       TYPE NAME                    SIZE       IDENTIFIER
        0:      GUID_partition_scheme                        *15.5 GB    disk2
        1:                        EFI EFI                     209.7 MB   disk2s1
        2:                  Apple_HFS Install macOS Catalina  15.2 GB    disk2s2
As you can see, there are 2 physical drives, both containing EFI partition.
If you compare it to Disk utility.app, it is rather brief.

Mounting a volume
To mount a volume, use sudo diskutil mount DiskIdentifier|DeviceNode|VolumeName.
# mounting using DiskIdentifier
sudo diskutil mount disk0s1

    Volume EFI on disk0s1 mounted

# mounting using DeviceNode
sudo diskutil mount /dev/disk0s1

    Volume EFI on /dev/disk0s1 mounted

# mounting using VolumeName
sudo diskutil mount EFI

    Volume EFI on EFI mounted
This will mount the volume to /Volumes/<VolumeName>. If this mount point is already in use, a number will be added at the end (e.g: /Volumes/EFI 1).
The sudo command in the beginning is very import, omitting it causes error message like
diskutil mount EFI

    Volume on disk2s1 failed to mount
    Perhaps the operation is not appropriate (kDAReturnNotPermitted)
    If you think the volume is supported but damaged, try the "readOnly" option
Mounting a volume to specified mount point
You can mount a volume to a different mount point (directory) using -mountPoint option. Beware, target mount point must exist.
# mounting using non-existant mount point will fail
sudo diskutil mount -mountPoint ~/EFI disk0s1

    Mountpoint /Users/hologos/EFI does not exist

# create mount point first
mkdir ~/EFI

sudo diskutil mount -mountPoint ~/EFI disk0s1

    Volume EFI on disk0s1 mounted
Unmounting a volume
Unmounting a volume is as easy as mounting a volume, use diskutil umount DiskIdentifier|DeviceNode|VolumeName.
# mounting using DiskIdentifier
diskutil umount disk0s1

    Volume EFI on disk0s1 unmounted

# mounting using DeviceNode
diskutil umount /dev/disk0s1

    Volume EFI on /dev/disk0s1 unmounted

# mounting using VolumeName
diskutil umount EFI

    Volume EFI on EFI unmounted

